DIY Escape-Proof Dog Gate Projects for Effective Training
Creating an escape-proof dog gate is essential for pet owners who want to keep their furry friends safe and secure. These gates can be stylish and functional when designed and made with care. To craft a well-designed gate, consider your dog’s size, strength, and intelligence. Dogs can often find ways to escape, so your design should factor in these traits. Using sturdy materials like wood or metal will ensure strength and durability. Don’t forget to measure the intended space precisely to avoid issues after installation. Additionally, look for features such as self-closing hinges or locking mechanisms to enhance security. Remember, the goal is not just to confine your dog but also to provide a safe space for them. Creating an escape-proof gate can be a fulfilling DIY project that transforms your living area. Gather necessary tools for the task and prepare to work systematically. Safety should be your priority throughout this project. Let’s dive into some helpful tips and essential design ideas to create a successful escape-proof dog gate. Understanding these principles will allow you to develop an effective barrier and ensure a safe environment.
Involving a design phase before construction is key to ensuring your project runs smoothly. First, visualize the overall look you’d like for your dog gate. Consider how it will fit into your home’s decor and surroundings. Sketching a design will help you identify necessary materials and avoid common pitfalls. You can make a basic plan that includes specific measurements, design features, and different height options. Be aware of your dog’s jumping capabilities, as this influences the height of your gate. Using visual materials like images or examples from others can inspire you, ensuring your finished gate is both functional and aesthetically pleasing. Once the design is set, sourcing high-quality materials becomes the next step. Invest in durable hinges, latches, and sturdy boards or panels. Safety is crucial; ensure that the materials are non-toxic and safe for your pet. Additionally, take advantage of local hardware stores or online retailers for both price comparisons and availability. Once everything is ready, prepare your workspace. Lay out your tools and materials for easy access as you proceed with the building phase. Having a clean and organized workspace helps efficiency.
Materials Needed for Your Escape-Proof Gate
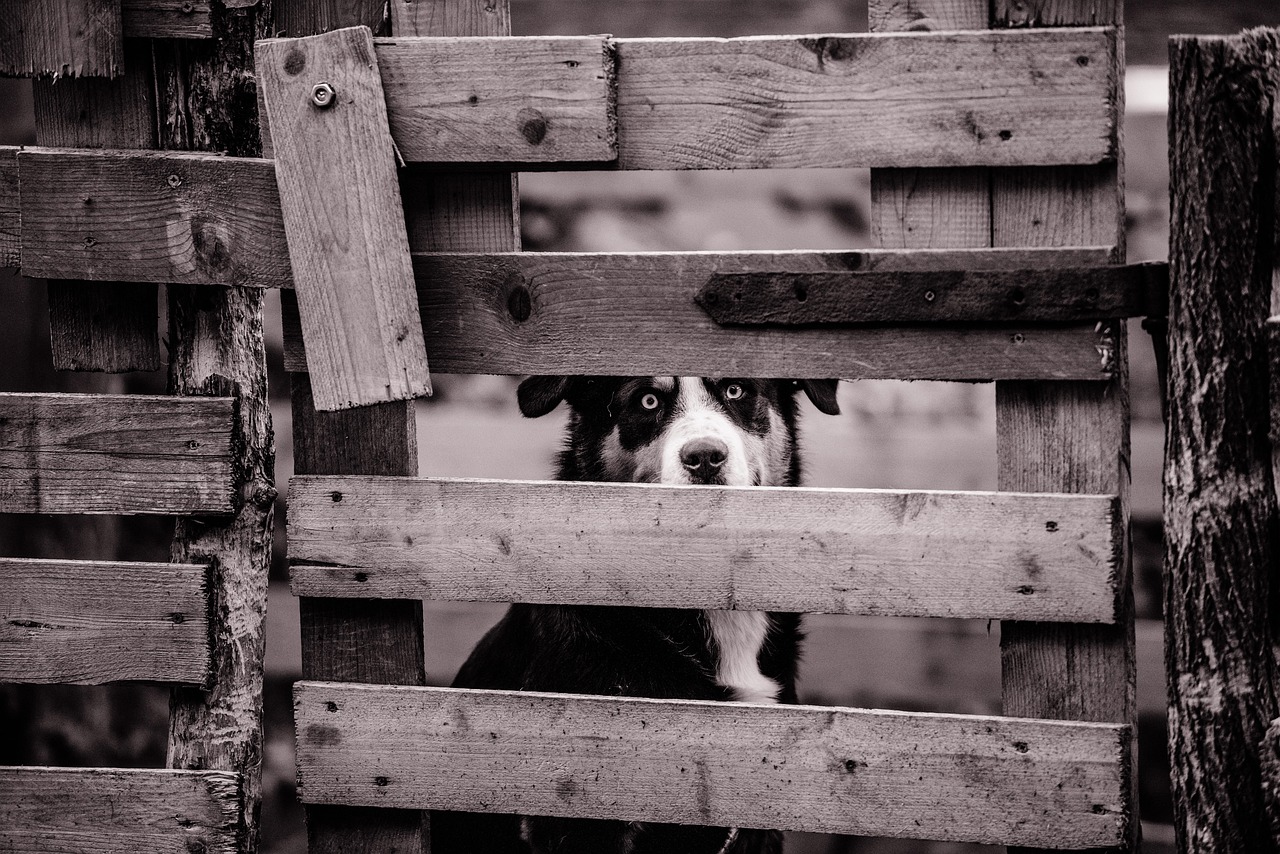
When crafting a DIY escape-proof dog gate, the right materials are essential for success. Choose high-quality wood, such as pine or oak, which provides durability while maintaining an appealing look. Additionally, metal brackets can offer extra support for sturdiness. If your dog is an aggressive chewer, consider using vinyl-coated wire mesh as part of your gate design, effectively preventing damage. List the tools required for measuring, cutting, and assembling your gate frame. Basic tools include a measuring tape, saw, screws, drill, and latch. Safety goggles and work gloves are also important for protection. Once you have gathered your materials, it’s time to focus on the design and construction process. Make sure that your gate design reflects the requirements outlined previously. Pay attention to height and width considerations to ensure it fits securely in the intended location. Avoid gaps larger than four inches to prevent escapes through the fencing. The thoughtfully chosen materials and proper construction methods will contribute to a successful, escape-proof dog gate. Careful planning and double-checking your dimensions during the project will save you time in the long run.
Once the materials are on hand, the building phase begins, bringing your idea to life. Start by measuring and cutting the wood or metal according to your design specifications. Accurate measurements are vital; take the time to double-check before making cuts. Next, construct the frame of your gate. Use screws or nails to secure the joints for strength. Once the frame is sturdy, attach any additional features like mesh, panels, or a decorative top. Holes for your latch and hinges should be drilled with precision for proper securing. After construction, continue to sand any rough edges to prevent injury to both you and your dog. Ensure that there are no sharp points or surfaces, promoting a safe environment. Once routing for hinges is done, it’s time to paint or stain the gate if desired for aesthetics. Choose non-toxic paint options safe for pets, both during application and once dried. Allow ample time for paint to cure completely, reducing exposure risks to your pet. Lastly, the final steps involve securing the gate to its position within your home.
Installing Your Escape-Proof Gate
When it comes to installing your DIY escape-proof dog gate, accuracy and careful placement are crucial. Start by determining the ideal location for the gate; ensure it’s in a convenient and practical spot that allows easy access. Use your level tool to make certain the gate is straight, allowing it to operate smoothly. Attach the hinges to the necessary side of your frame, ensuring they are level and properly secured. A gate that isn’t level may cause improper closing and potential escape opportunities. Latch placement is also significant; depending on your dog’s size and intelligence, you’ll need to place it high enough to avoid their reach. After securing the gate frame in the opening, perform a test to check for functionality. Open and close the gate several times to ensure that it swings freely and closes securely. Make any adjustments as necessary to ensure optimal performance. Additionally, consider adding a secondary latch or a locking mechanism if you have a particularly clever or energetic dog. Routine checks on your gate are suggested to maintain effectiveness over time.
Regular maintenance is crucial for keeping your DIY escape-proof dog gate in excellent condition. Conduct routine checks every few months to ensure all hardware components, like hinges and latches, are functioning as intended. Any loose screws or worn-out components should be addressed as soon as possible to prevent failures. Ensure hinges and latches are adequately lubricated to avoid corrosion, especially in areas with fluctuating weather. Visual inspections can help spot any damage to the gate’s body, ensuring its integrity remains intact. If your gate was painted, look for signs of chipping or wear; it may require a fresh coat of non-toxic paint occasionally. It’s essential to maintain your gate not only for aesthetics but for functionality, which keeps your pet safe. Additionally, consider updating your dog gate design if your pet grows or your circumstances change. Alterations may include extending height or reinforcing areas. Keeping a flexible approach to your dog gate may be necessary for adapting to your changing needs. Overall, a well-maintained escape-proof gate is integral in your dog training program.
Additional Training Tips
Creating a secure space is just one aspect of effective dog training, so supplement your gate with positive reinforcement techniques. Dogs respond well to consistent training methods. Use training events to encourage proper behavior at the gate; a command like ‘stay’ can promote patience while you navigate through the gate together. Reward your pet with treats and praise when they remain calm and focused during your training sessions. By using positive reinforcement with gate training, your dog will learn that remaining calm leads to exciting outcomes. Another important factor is ensuring your dog has adequate physical and mental stimulation outside of confinement. Engaging playtime before utilizing the gate can help prevent unwanted behavior due to excess energy. Dogs thrive on structure and routine; consider incorporating designated play periods to ease transitions between their confined space and free time. Encouraging relaxation when approaching barriers can be reinforced gradually. Remember, introducing your dog to a new gate can require patience. Over time, your pet will likely see its function as a safe and barrier-like structure, easing their anxiety regarding confinement.
In summary, building an escape-proof dog gate is an essential task for pet owners looking to keep their pets safe at home. By using quality materials and thoughtful designs, you can create an effective barrier that blends with your living space. The project allows for creativity and personalization, ensuring that your dog gate fits your unique style. From planning and gathering materials to constructing and maintaining the gate, each step is crucial in achieving success. Incorporating training techniques alongside the physical barrier elevates your overall approach to dog management. Consistency, patience, and using appropriate tools during construction support excellent results. Whenever possible, review your training goals and assess your dog’s behavior; adjustments to the gate or training style may be necessary based on experiences. Remember that this gate serves a dual purpose: a physical boundary and a tool for effective training. Engage with your dog and build a strong relationship through positive experiences as they learn to exist alongside the gate. With the right approach, your DIY escape-proof dog gate project can become a greatly appreciated part of your home that serves its purpose and benefits your pet.