DIY Dog Training Dummy: Make Your Own with Easy Materials
Creating a DIY dog training dummy can be a rewarding experience for both you and your dog. With some simple materials, you can craft a functional tool that will assist in training your furry friend. This article will guide you through the process step-by-step. Start by gathering necessary materials. You will need an old towel or a sturdy cloth, some stuffing, and sewing materials. If you wish to add weight, you can include sand or small pebbles. Making a dog training dummy doesn’t require any special skills; even beginners can succeed. The process usually involves cutting fabric, stuffing, and sewing. Remember, the key to a durable dummy is to ensure all seams are tight and the stuffing is secure. Once complete, your dummy will be able to withstand play and tugging. Remember to tailor the design based on the size of your dog. Larger breeds may need bigger dimensions. This project fosters creativity and strengthens the bond with your pet, making it more than just a toy. Get ready to enjoy the training sessions with your custom-made dummy!
Before diving into construction, let’s explore the benefits of making your own dog training dummy. Firstly, it is cost-effective compared to purchasing pre-made options which might be quite expensive. You can use materials you already have at home, which reduces waste. Additionally, customizing the size and shape of the dummy can meet your dog’s specific needs. You can experiment with different stuffing materials to achieve the right weight, which can enhance tossability and durability. By making the dummy yourself, you can ensure it is free from harmful chemicals, which is especially important for vigorous chewers. Furthermore, creating the dummy becomes an engaging activity, allowing you to bond with your dog through the process. Remember to involve your pet in this journey; their excitement will make the experience even more enjoyable. Once finished, the dummy will be an essential part of training sessions, efficiently helping with retrieval, tugging exercises, and enhancing obedience. Look for tutorials online for different designs, and choose one that suits your skill set. Each of these factors makes creating a custom training dummy worthwhile!
Materials Needed for Your Dog Training Dummy
It’s essential to choose durable materials when making a dog training dummy. The cloth you select should be tough enough to withstand rough play and chewing. Practical options include old canvas bags, towels, or denim. If you choose a lighter fabric, reinforce it with additional layers to bolster its strength. Next, consider the stuffing: options include cotton, synthetic materials, or old clothing. If you intend to add weight, choose sand or pebbles, placing them in a secure bag or pouch to avoid spills during use. A good sewing kit is also necessary. Ensure you have scissors, thread, and a needle. A sewing machine will speed up the process, but hand stitching works fine too! For added fun, use colorful fabric to make your dummy visually appealing. Think about using reflective or brightly colored fabrics when training outdoors. With a range of textures, you can also stimulate your dog’s senses further. Reflect on the size of your dog when determining how big to make the dummy, adjusting dimensions accordingly. The right selection of materials is key in building an effective training device.
Once you’ve gathered your materials, you can begin constructing your DIY dog training dummy. Start by cutting the fabric to the desired size. Ideally, this should be large enough for your dog to carry comfortably. A size of around 12×6 inches works for most breeds, but adjust as needed. Fold the fabric in half with the inside facing out, aligning the edges. Then, sew along the long edge, creating a tube while leaving one end open. Turn the fabric inside out to hide the seams. Next, begin stuffing your dummy with your chosen material. Achieve the desired firmness by adjusting the amount of stuffing you add. Make sure to distribute the stuffing evenly to ensure balance. If using sand or pebbles, place them in a separate pouch before inserting them into the dummy; this will prevent any spills. Once adequately stuffed and the dummy feels solid, sew the open end closed tightly. Use strong stitching to prevent your dog from breaking it apart. Your training dummy is now ready for use, ensuring fun and effective training sessions!
Testing Your DIY Dog Training Dummy
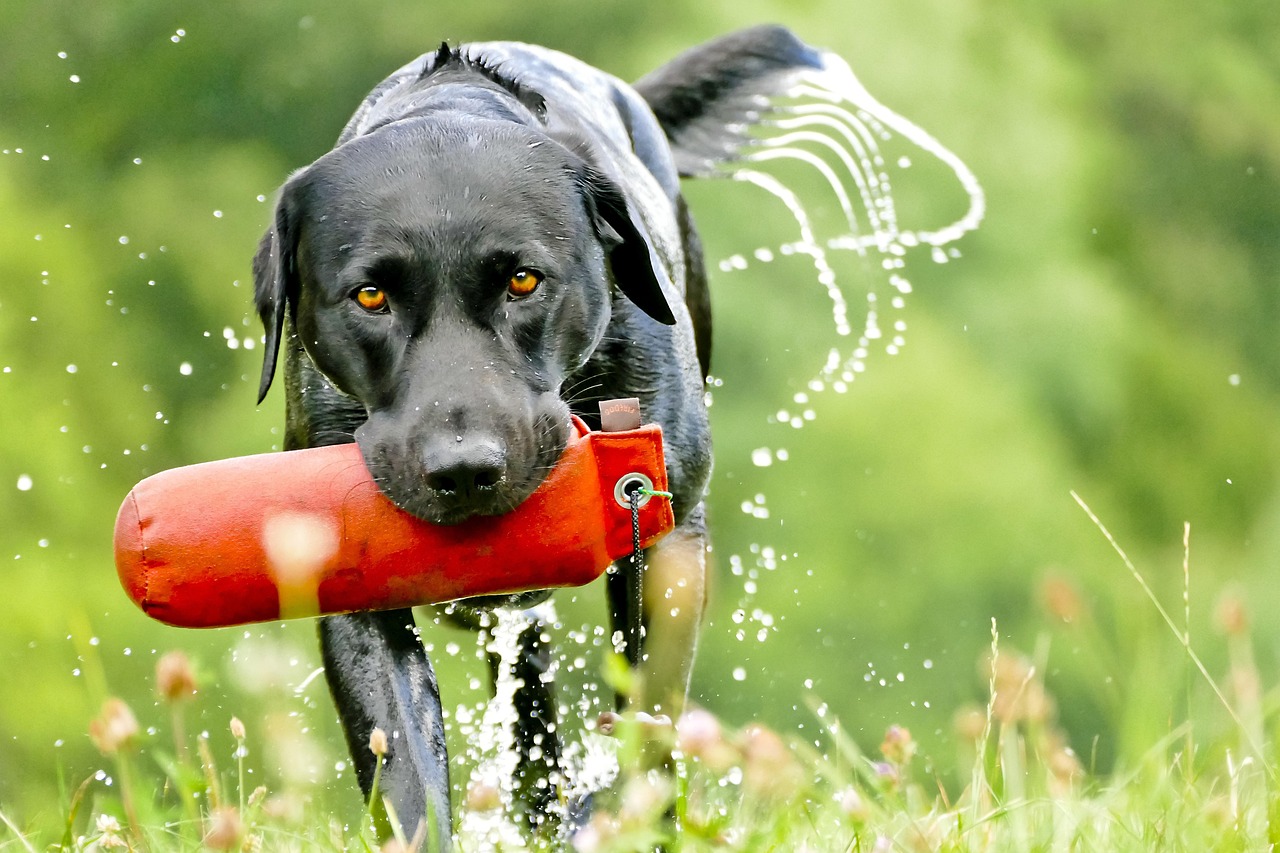
After constructing your dummy, it is crucial to conduct a few tests to ensure its safety and functionality. Begin by checking all seams and openings to see if they are secure. Tug on the dummy yourself to assess its strength; if it tears or collapses, go back and reinforce those areas. Once convinced of its integrity, it’s time to introduce it to your dog. Start with basic commands, allowing them to sniff and play with the dummy to become familiar with it. Gradually integrate it into training sessions, using it for retrieves or tugging exercises. Monitoring your dog’s reaction will help determine if adjustments are necessary in size or weight. Keep an eye on their behavior, ensuring they stay engaged and interested. If your dog easily loses focus, consider adding treats or engaging with their favorite toy alongside the dummy. Remember to praise your dog for successful interactions, reinforcing positive behavior. By testing thoroughly, you can ensure your DIY dog training dummy is a durable tool for effective training, enhancing your dog’s skills over time.
Maintenance of your dog training dummy is essential for longevity and optimal performance. Regular inspections are necessary to identify any damages that may occur during play. Make it a habit to check for loose seams, exposed stuffing, or any visible wear and tear. If any issues arise, fix them immediately to prevent ingestion of materials by your dog, which can be dangerous. Clean your dummy periodically using mild detergent and water. Avoid harsh chemicals that could harm your dog. Rinse thoroughly to eliminate soap residue and air-dry, ensuring it’s completely dry before giving it back. If the dummy becomes overly dirty or damaged, consider making a new one. Regularly updating toys ensures your dog remains excited and engaged during training sessions. Refreshing your training tools also provides opportunities for introducing new commands and techniques. Moreover, every time you create a new dummy, it fosters a deeper connection with your dog, as they explore new textures or features. Maintaining your DIY dog training dummy thus not only ensures safety but may also ignite joy and enthusiasm in training.
Conclusion: Enjoy the Training Journey Together
As you embark on the journey of making and using a DIY dog training dummy, remember that the ultimate goal is to strengthen your bond with your dog. The process of crafting your training tool brings a sense of fulfillment, and participating in your dog’s training will enhance their skills. Be patient, as every dog learns differently, and reward their efforts throughout the process. Use the dummy for various activities, encouraging play and exploration. Your dog will appreciate the time you invest in creating engaging training sessions. Additionally, this will build their confidence, focus, and agility. Train consistently, but ensure to keep it fun! Incorporating games and variety can make learning enjoyable for both you and your dog. Throughout this journey, cherish the moments spent together, as they will create lasting memories. The investment in time and effort will yield rewards far beyond training; you will establish a relationship based on trust and cooperation. The DIY training dummy can be the starting point for countless adventures, cultivating a lifetime of happy experiences together.
With the right motivation and tools, dog training can be an enjoyable experience for you and your furry friend. The DIY dog training dummy is not just a toy; it becomes a symbol of partnership and teamwork between you and your dog. It represents the effort you put into nurturing and developing your pet’s skills. By following these steps and tips on creating your own dummy, you’re setting the stage for positive learning experiences in the future. Make the most of your time together, and enjoy the satisfaction that comes with seeing your dog excel. Cheers to new adventures in dog training!