DIY Guide: Building a Custom Dog House Step-by-Step
Building a custom dog house is an enjoyable project that not only serves as a shelter for your pet but also offers a sense of accomplishment. Whether your dog is a tiny toy breed or a large, majestic breed, a custom dog house can be tailored to fit the unique dimensions and preferences of your furry friend. Begin by measuring your dog to ensure the house is comfortable and spacious enough. After determining the correct size, you will want to decide on the style. Designs may vary from a simple box shape to more elaborate structures with pitched roofs. Choose durable materials that can withstand the elements; cedar or plywood works well for the walls. Once you have your materials, it’s time to create a solid foundation. A raised base will keep your dog dry and insulated. This guide will provide step-by-step instructions to assist you in creating the perfect home for your beloved pet, ensuring that your custom dog house stands up to challenges and remains a cozy retreat for years to come. Get your tools ready and let’s begin constructing the ideal abode for your dog.
Next, it’s important to gather all the necessary tools and supplies before starting your custom dog house project. Essential tools include a saw, hammer, drill, measuring tape, and a level to ensure everything is even. Additionally, you will need safety gear like goggles and gloves to protect yourself during construction. When it comes to supplies, consider using insulation material, roofing shingles, nails, and outdoor paint to protect the house from rain and sun exposure. After assembling your tools and gathering the supplies, it’s helpful to sketch a design blueprint for the dog house. This blueprint acts as a guide to make measurements accurate, ensuring the best fit for your dog. If you’re not sure where to start, many online resources provide templates and ideas. Be sure to consider your dog’s personality and personal preferences when designing the space. A few adjustments to the design may make it more appealing for your dog, like adding a porch or a dog door for easy access and ventilation. Once you have completed the design, you can move on to constructing the base, starting the actual building process.
Building the Foundation
The foundation is a critical part of your dog house structure that must be built correctly to ensure stability. Begin by laying out the base using treated lumber or plywood to create a sturdy frame. Make sure the foundation is slightly elevated off the ground to prevent moisture from seeping in and causing damage. A few inches of elevation can help keep the house dry during heavy rains. Use a level to ensure the base is flat before fastening additional pieces together. Then, build the floor by attaching plywood securely to the framework. After the floor is completed, add insulation panels if desired; this provides extra warmth during the cold months. Next, prepare to construct the walls. Cut your wall sections according to your measurements from the blueprint and attach them vertically to the floor using screws or nails. Ensure each wall is straight by using the level tool again. This careful construction helps your dog house withstand strong winds and stormy weather, creating a safe environment for your pet. After the walls are done, you can proceed to the roof section, which is also essential for durability.
The roof of the dog house is just as significant as the walls and floor, providing shelter from rain and snow while enabling venting. Start by deciding on the roof style you prefer, such as a flat top, gabled, or sloped design, which can add charm to the aesthetics. Once you’ve made a decision, cut roof panels from plywood or similar materials to fit securely atop the walls. It’s important to design the roof to have an overhang; this will shield the entrance from water runoff during rainstorms. Use screws to attach the roof panels, ensuring they are securely held in place. After securing the roof, consider adding a waterproof layer, like roofing felt or shingles, which will protect against the elements. Additionally, proper ventilation is vital for your dog’s comfort; install vents or even small windows where appropriate. This will prevent the interior from becoming too stuffy during hot seasons. A hinged roof can also simplify cleaning and maintenance. Remember that the aesthetics of the roof can be adjusted with paint to match your backyard or home design, increasing visual appeal outside.
Finishing Touches and Personalization
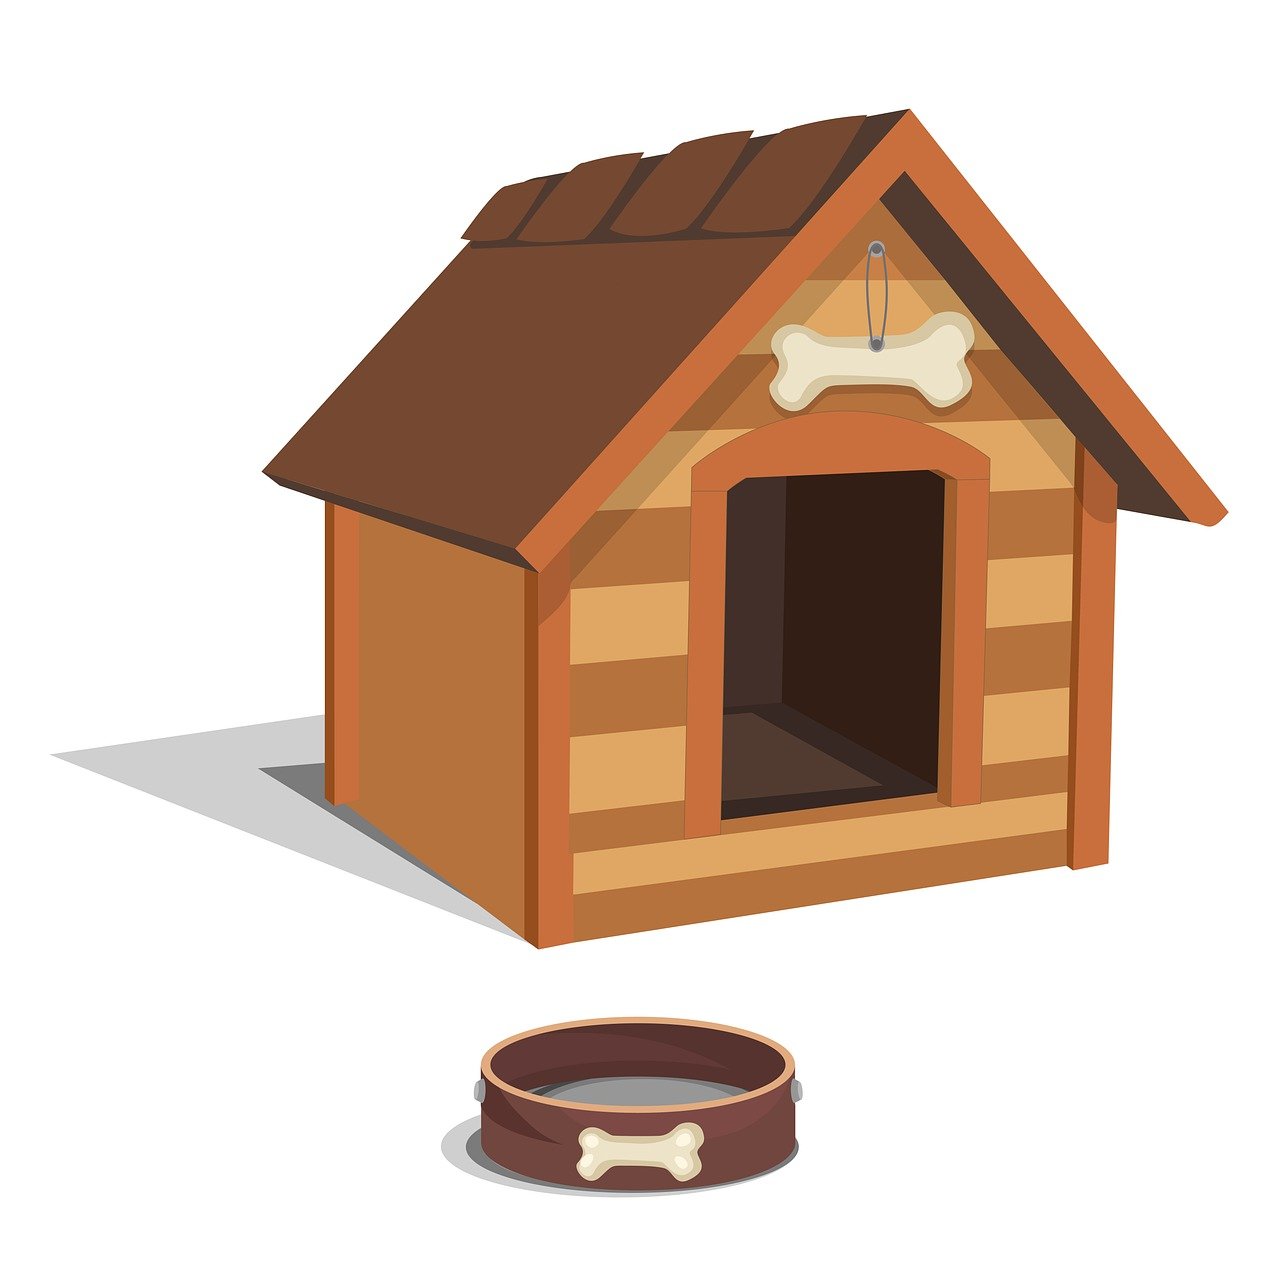
After the essential structure of your custom dog house is complete, it’s time to turn your attention to the finishing touches, which make it a welcoming space. Begin by sanding down rough edges on the wood to remove splinters, ensuring your pet’s safety and comfort. Next, paint or stain the exterior with non-toxic outdoor paint to enhance its longevity and aesthetics. Choose bright colors or a personalized theme that complements your house or yard. You may also want to add some decorative elements, like paw print decals or an address plaque with your dog’s name. Consider installing a flap on the entrance to keep out cold drafts during winter months, and consider a removable floor mat inside for easy cleaning. Including a chew-proof water bowl and a cozy dog bed enhances your dog’s experience. Lastly, think about shade during hot seasons; adding a canopy or relocating the dog house to a shaded spot could be beneficial. Remember to keep the house clean and routinely check for damages, maintaining your custom creation for years of happiness for your furry friend.
Ensuring your dog house is adequately insulated is key to providing comfort year-round. During colder months, insulation helps retain heat inside, while in summer, it keeps the house cool. You can use foam board insulation or fiberglass batts between the walls during construction. If you are using 2x4s for the walls, creating a space for insulation is doable and efficient. Make sure any insulation used is safe for pets and free from harmful chemicals. Additionally, review the roofing to ensure no leaks will occur over time, especially if you’ve opted for a flat roof design. Ventilation is also essential; having vents can help prevent heat build-up in summer. If you notice heat is trapped within, consider adding a fresh air intake or exhaust fan. Comfort is paramount, as dogs can suffer in extreme temperatures. Provide sufficient airflow while keeping in mind the external environment. Regular inspections of insulation and structure will help keep your dog house in prime condition. Adapting your dog house to seasonal changes will foster a healthier atmosphere for your pet, ensuring they have a happy and safe place to retreat.
Maintaining Your Custom Dog House
Ongoing maintenance of your custom dog house will ensure it continues to be a safe haven for years to come. Start by regularly checking for pests, like termites or rodents, that may want to invade your dog’s space. Treat any wood or structural elements with dog-safe pesticides or seals to prevent infestations. It’s crucial to keep the structure clean; a quick weekly check with a damp cloth and specialized pet products can help preserve hygiene. Removing debris and waste also helps keep a sanitary environment for your dog. Repair any cracks or damages to the walls or roof promptly; this can prevent more significant issues down the line. Pay attention to the entrance; replacing worn-out flaps or adding protective screens can keep the interior comfortable. During seasonal changes, consider adjusting the location of the dog house to maximize shade or sun exposure. This regular maintenance will extend the life of your dog house, allowing your furry friend to benefit from a well-cared-for environment. Make sure to engage periodically with your dog about their comfort preferences; this will improve their overall satisfaction with their dwelling.
Creating a custom dog house not only demonstrates your love for your pet, but it also allows for creativity and design as you cater to their needs. Each step from measuring, cutting, and assembling brings you closer to providing a shelter tailored to your best friend. Take the time to reflect on aspects such as insulation and ventilation throughout the process; your attention to detail will significantly enhance your dog’s comfort and happiness. Building a structure they can relate to and feel secure in strengthens your bond with them. By following this guide, you can create a unique space that not only looks great but also serves its purpose efficiently. After the build, involve your dog in the decoration process and let them explore their new space. Share pictures of your DIY project with the dog community online; this may inspire others to embark on similar journeys. Always remember, a loving and personalized home is essential for a dog’s well-being. Happy building and enjoy the memories you’ll create together with your custom dog house. Together, you and your beloved dog will cherish this special creation for many years.