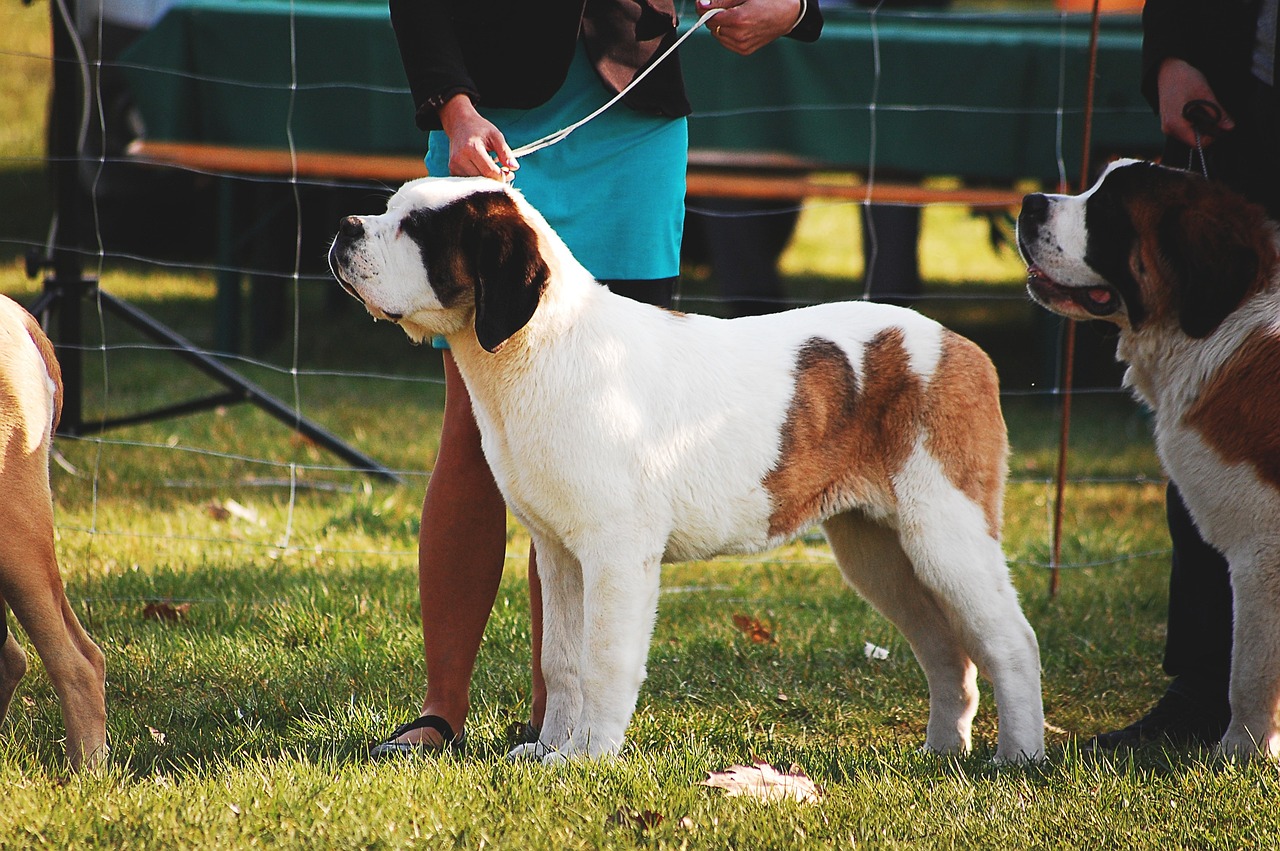
Post-Processing Tips for Enhancing Dog Show Images
Dog show photography captures the essence of competition and the beauty of our furry friends. However, capturing the perfect shot is just the beginning. Post-processing plays a crucial role in enhancing those images. Use software like Adobe Lightroom or Photoshop to adjust exposure and contrast correctly. Start by cropping your images to eliminate distractions from the edges. Focus on the dog and ensure it takes center stage. Adjust the brightness and contrast settings to enhance clarity. A little sharpening goes a long way; carefully apply it to the dog’s fur to give it a more vibrant look without introducing noise. Noise reduction is another essential step, particularly if you shot in low light conditions. Use this tool wisely to maintain the detail in the images while reducing grain. It’s also vital to color correct images, ensuring the dog’s coat appears natural. Finally, remember that less is often more in post-processing; aim for a clean, polished finish that highlights the dog’s qualities without overdoing effects. Balancing these adjustments will elevate your dog show photography significantly.
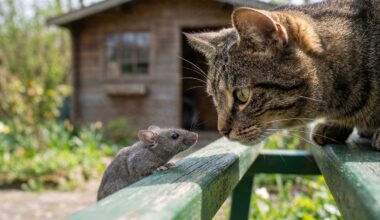
Another notable aspect of post-processing involves enhancing the background. When photographing dogs, the background can either complement or detract from the subject. Consider blurring busy backgrounds to achieve more focus on the dog. A slight Gaussian blur can help isolate the subject and make it stand out. This technique allows the dog’s features, expressions, and movements to become the primary focus of your photograph. Pay attention to the colors in the background as well; colors that clash can take away from the overall beauty of the shot. You might want to change background hues in post-production to harmonize them with the dog’s coat. Adding a vignette effect can also bring attention inward, creating a frame-like effect around the subject. Creating a balanced composition enhances the professionalism of your images. Don’t forget about sharpening the eyes; they are the window to a dog’s soul. With careful post-processing, you can draw the viewer’s attention with an inviting gaze that captures the spirit of the moment. Keep experimenting with these techniques to find what works best for your style.
Editing your dog show images isn’t merely about enhancing visual appeal but also capturing the essence of the experience. To do this, you’ll need to set the right mood and tone in your images. Consider adjusting the temperature or tint to elicit a specific emotional response. Warmer tones often evoke feelings of happiness and warmth, while cooler tones can impart a sense of calm. Use these adjustments to your advantage, aligning them with the atmosphere of the dog show itself. Besides mood, explore the use of filters. While it can be tempting to overuse them, a well-chosen filter can enhance colors and details effectively. Remember to make adjustments that remain true to the dog’s natural appearance. Incorporating textures or overlays can also add depth to your images; however, always exercise caution to prevent distractiveness. Keeping your edits subtle will align with the authenticity of the subject matter. Aim for a polished yet natural look that doesn’t overshadow the glamor of the dog show. Focusing on details can truly make a difference in how portraits are perceived and received.
Utilizing Lightroom for Dog Show Photography
Lightroom is an excellent tool for photographers looking to post-process dog show images efficiently. One of its standout features is the ability to batch edit images, saving you significant time, especially when dealing with numerous shots taken during shows. Begin by culling through your photographs to select the best shots to edit. Once selected, apply your basic editing adjustments collectively. Use the histogram to check your exposure levels, ensuring you have details preserved in both highlights and shadows. Proceed by applying a consistent preset across your selected images for a uniform look; this will enhance the overall quality of your photography project. Don’t hesitate to customize the preset for individual images, especially for subtle changes in colors or contrasts that may occur in different settings. Additionally, using the adjustment brush allows you to make fine-tuning adjustments to particular areas, like highlighting a dog’s coat or sharpening its eyes. Take advantage of the local adjustment tools, like the gradient tool, to control exposure in specific sections, enhancing visual interest and overall impact.
Color grading is another powerful technique to consider during your post-processing workflow. Adjusting the colors in your dog show images can convey stories or evoke emotions. You have the ability to emphasize certain colors, enriching the dog’s hues while complementing the backgrounds. Utilize the HSL panel in Lightroom or similar software to tweak the individual color channels. Fine-tuning saturation, luminance, and hue adjustments allows you to create harmony among the colors. For instance, if a dog has a reddish coat, you may elevate its exposure while adjusting the green hues in the background. This contrast draws attention, making the dog pop off the screen. Pay special attention during this process, as overly dramatic adjustments can quickly become unappealing or unrealistic. Create two versions of the same photograph to assess which one resonates more. Comparing edits allows for more informed decision-making about your preferred style. Consistency should be your goal throughout your portfolio, ensuring viewers recognize and appreciate your approach. Achieving a keen balance ensures each image stands out while remaining visually striking.
Fine-tuning with Photoshop
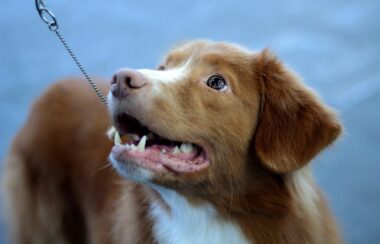
For photographers seeking advanced post-processing techniques, Adobe Photoshop is a powerhouse. Within its suite of tools, you discover a variety of options for retouching and refining dog show images. Start by utilizing layers effectively; they let you experiment without damaging the original image. One prominent tool, the clone stamp, helps eliminate distractions. Use it to remove leashes or other unwanted objects from the frame. Healing brushes can also smooth out blemishes in the dog’s fur for a polished look. Intelligent selection tools allow for precise adjustments, making it easier to highlight certain areas, such as the dog’s eyes or the texture of its coat. Additionally, consider experimenting with blend modes to create unique effects in your photos, enhancing the appeal creatively. You can integrate artistic elements by adding textures or overlays for a more whimsical effect. However, be cautious not to overdo it; the goal is to deliver a professional-looking final product while showcasing your artistic vision. Always reassess the edits you make to ensure they align with your intentions.
Lastly, after investing time and effort into post-processing, it’s essential to present your work effectively. Think about the output format; high-resolution JPEG or TIFF files are often preferred for prints. Ensure that your images retain quality when printed or viewed digitally. Moreover, watermarks are a matter of preference, but if chosen, they should be subtle to avoid detracting from your stunning visuals. Resize your images according to the platform you’re using for showcasing, as each platform has its preferred dimensions. When sharing, consider including before-and-after images to engage your audience. Showcase the power of post-processing by demonstrating how much an image can transform with dedication. This not only provides your audience with insight into your process but also invites interaction and discussion. Additionally, leverage social media platforms to reach broader audiences. Include hashtags relating to dog shows and photography to capture the interest of enthusiasts. Your images should resonate with viewers, drawing them into the captivating world of dog show photography. Passionate sharing can lead to meaningful connections and increase your presence in the canine community.