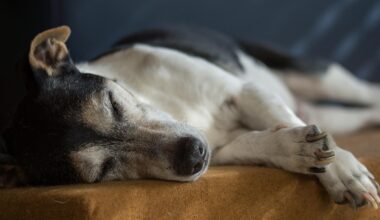
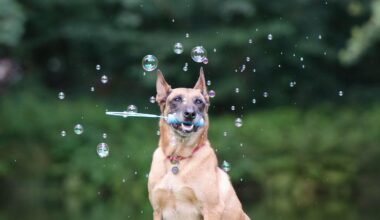
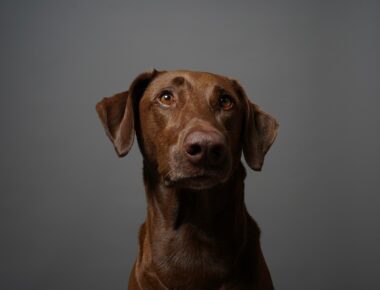
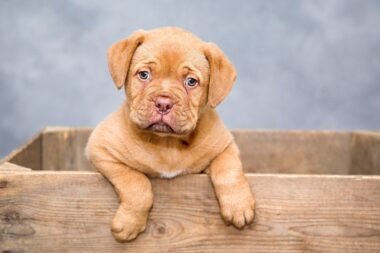
Post-Processing Techniques for Dog Photographers
In the realm of dog photography, mastering post-processing techniques is essential for elevating your images to a professional level. Post-processing allows photographers to refine their images by adjusting colors, contrast, and sharpness. One of the most effective software tools you can leverage is Adobe Lightroom. Lightroom offers a diverse set of features like basic adjustments, color grading, and export settings that can transform a good shot into a breathtaking piece. Moreover, using plugins such as Nik Collection can enhance capabilities even further. For instance, you can apply unique filters that cater to the earthy tones common in dog photography, creating a warm and inviting atmosphere. Consider experimenting with sharpening and noise reduction techniques so that your canine subjects look their absolute best in every shot. Each image holds its own character, and the correct post-processing can highlight that individuality beautifully. Always remember to maintain a backup of your original files, as you may want to revert back. Developing a consistent workflow will help streamline this process, making your post-processing more efficient and enjoyable.
Understanding the fundamental aspects of color correction is vital for dog photographers. Adjusting the color balance can distinguish between a mediocre photograph and an outstanding one, bringing vividness to your images. Often dogs come in various shades and lighting, making it essential to emphasize their natural colors. Use the color temperature slider in Lightroom to fine-tune the warmth or coolness of your images. This can be particularly useful if you’re shooting in different environments, such as parks or urban settings. Additionally, utilizing tools like HSL (Hue, Saturation, Luminance) can help you target specific colors to enhance. For instance, if your dog wears a bright red collar, increasing its saturation can make it pop without detracting from the overall image. Never overwrite the original photograph; work on a duplicate file to ensure you experiment freely. Also, you can take advantage of the histogram feature to gauge exposure levels accurately. Avoid overexposing or underexposing details, especially in white fur or dark shadows, which can lose crucial information if not handled properly. Incorporate adjustment layers to maintain flexibility in your editing process.
The use of layers can be a game-changer in the editing workflow. Programs like Photoshop allow for non-destructive editing, enabling you to apply adjustments selectively. Utilizing layers, you can enhance certain areas of the photograph without affecting the entire image. For dog photography, this means you can bring attention to the eyes and soft features of your pet while keeping the background subtle. Start with a basic adjustment layer for brightness and contrast, then create additional layers for enhancements like dodging and burning. Dodging can lighten areas of your photo, whereas burning can darken specific parts, emphasizing depth. Moreover, masks can be applied to these layers, allowing you to blend adjustments seamlessly. Remember to zoom in while editing finer details, like fur textures around the dog’s face. Tools like the brush feature can help apply localized adjustments more quickly. By using these techniques, you will find that the overall composition becomes more engaging without sacrificing the dog’s natural essence. It’s all about enhancing what already exists rather than creating something entirely new.
Effective Cropping Techniques
Cropping is a crucial post-processing technique every dog photographer should master. The way you crop an image can significantly change its focus and composition. When photographing dogs, aiming to highlight their expressive eyes or playful stance can draw the viewer’s attention effectively. Remember the rule of thirds; placing your subject’s face at one of the intersections can create a more dynamic image. While cropping, consider the background as well; a busy background may detract from your subject. Often, a simple crop can change a picture from mundane to exceptional by enhancing focal points. You can also experiment with different aspect ratios based on your intended use, whether for social media or print. Additionally, look for natural lines in the composition that your eyes can follow; these can guide viewers through your photo. This strategy is beneficial when capturing motion, like dogs running or jumping. Ultimately, be mindful not to lose quality in your image by cropping too much. Balance your cropping with an awareness of resolution, ensuring that your final image remains sharp and clear.
Sharpening is a vital technique for any dog photographer looking to produce crisp images. When applied effectively, sharpening can help details pop, especially in textures like fur and eyes. Use it sparingly, as over-sharpening can introduce artifacts that distract from the beauty of the image. In editing software like Lightroom, sharpening tools allow for targeted adjustments, enhancing only the areas that need it. For dog photography, you may want to focus sharpening primarily on the eyes and prominent fur details to draw the viewer’s gaze. Utilizing the masking tool can help you apply sharpening while protecting softer areas of the photo. The goal is to maintain a natural look by enhancing clarity and definition. Additionally, consider applying a slight increase in clarity to amplify local contrast. Following sharpening, always evaluate the image at various zoom levels; this practice allows you to ensure you aren’t detracting from the overall appeal. Aim for a clean and streamlined final look. By refining sharpening techniques, you can bring your dog photography to professional levels.
Noise Reduction Techniques
When shooting in low light situations, you’re likely to encounter noise, which can visibly degrade the quality of your images. Learning effective noise reduction techniques is essential for dog photographers, especially when capturing candid shots indoors or during dusk. Most editing software comes equipped with noise reduction features, which can help smooth out unwanted graininess. In Lightroom, for instance, the Luminance slider indicates how much noise you can reduce without losing too much detail in fur textures. Furthermore, utilize the color noise reduction tools, which can smooth out unwanted color artifacts while retaining the dog’s natural tones. Always approach noise reduction with a light touch, as aggressive settings can lead to a plastic appearance in your images. Another effective strategy is shooting in RAW format, which retains more detail than JPEG, allowing for better noise management during editing. Monitor the balance between noise reduction and image sharpness closely. Overall, invest time in mastering these techniques to ensure your dog photographs remain clear and visually appealing, even in challenging lighting conditions.
Lastly, one of the most crucial components of post-processing for dog photographers is understanding how to save and export your images. Properly saving your files guarantees that they maintain quality when sharing online or printing. After completing your edits, consider using both JPEG and TIFF formats for different purposes. JPEG is suitable for web use due to its smaller file size, while TIFF is better for printing, preserving much more detail and color. When exporting, be mindful of resolution settings; images for online sharing typically require a resolution of 72 PPI, while printed photographs benefit from a higher resolution of 300 PPI. You should also label your files clearly for easy organization; this will help when searching for specific shoots later. Additionally, consider creating a standardized folder structure on your computer to keep everything organized. Include dates and event themes that relate to each shoot. Maintaining this workflow can simplify the way you navigate through your portfolio over time, allowing you to focus more on capturing beautiful images of our furry friends that appeal to dog lovers everywhere.